How to start a demonstration of an uploaded file
In this article, you will learn how to start and demonstrate a file uploaded to the event.
This feature is needed for convenient presentation of slides at events, allowing you to upload files, scale content, and highlight important points with a pointer.
STEP 1: Plan or start the event in the browser. More details on planning and starting events can be found in this article.
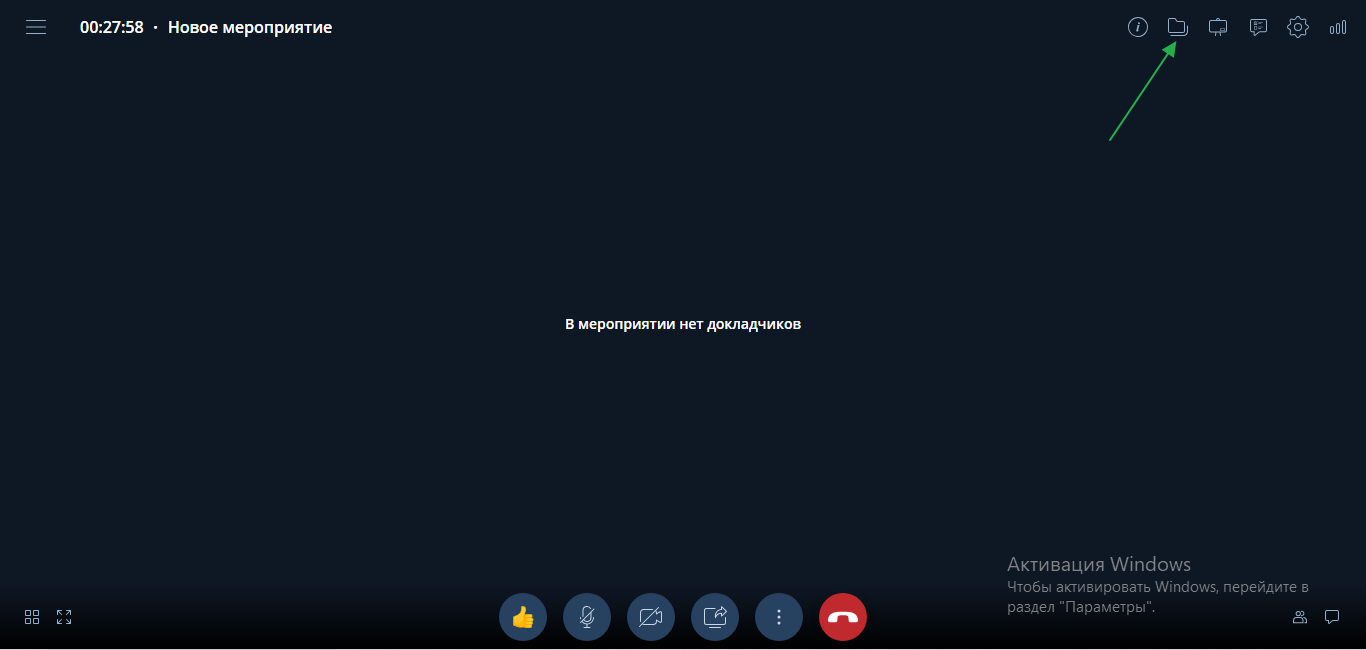
STEP 2: Access to files
- In the top right corner, click on the "Files" button.
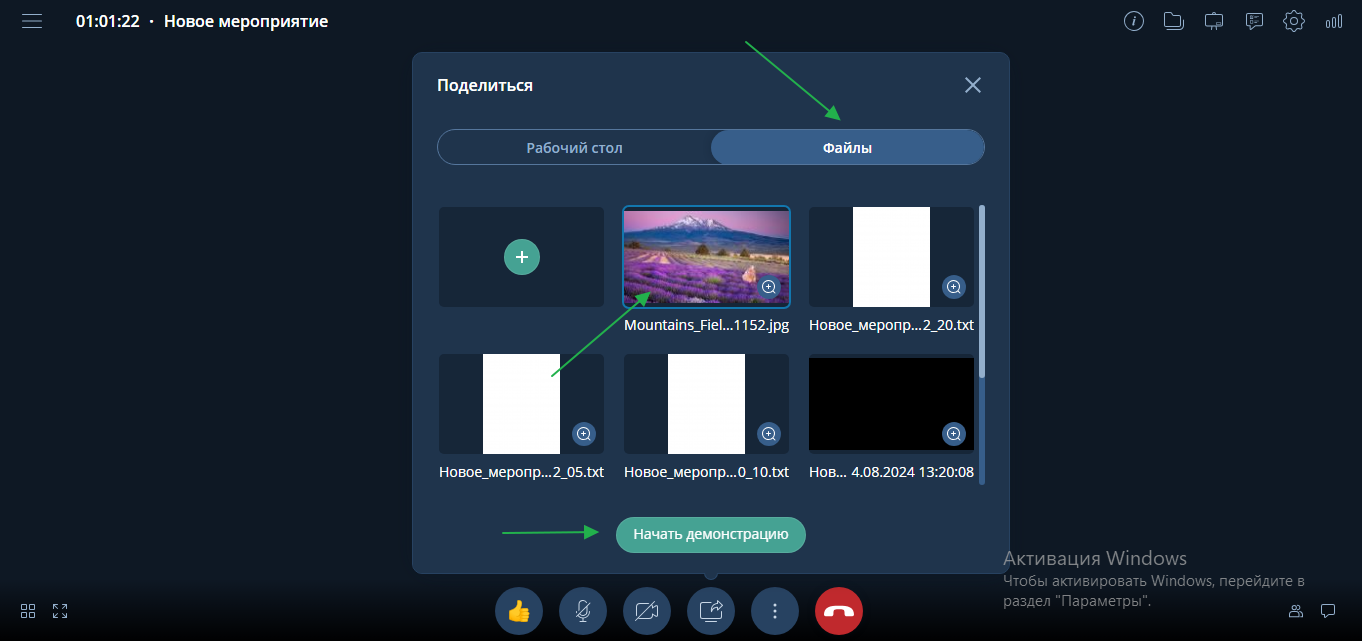
STEP 3: Uploading files
- In the opened window, "drag and drop" or "upload" the necessary files.
- You can also add files through the "+" functionality in the top left corner of the window.
INSERT GIF
STEP 4: Waiting for conversion
- Wait for the conversion of the added file to complete.
STEP 5: Starting the demonstration
- Click on the "Show additional content" icon at the bottom of the screen, then select the "Files" tab, click on the desired file, and "Start demonstration".
STEP 6: Scaling content
- Use the "plus" and "minus" buttons to zoom in or out on the displayed content.
INSERT GIF
STEP 7: Adjusting to screen size
- To scale the content to the screen size, use the "to screen size" button.
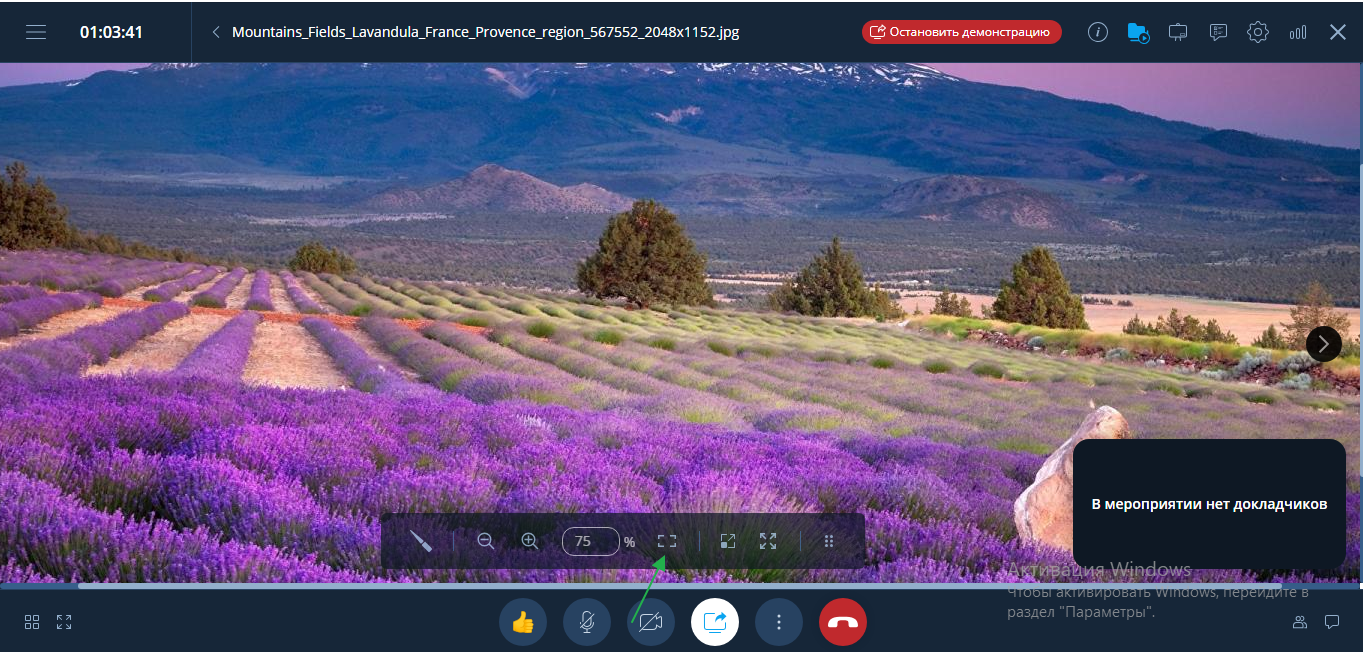
STEP 8: Using a pointer
- During the demonstration, you can use the "pointer" tool to highlight important points.
INSERT GIF